Drag-and-Drop Projects
This article is about drag-and-drop projects. If you'd rather learn how to set up a Git project, head over to Git Projects.
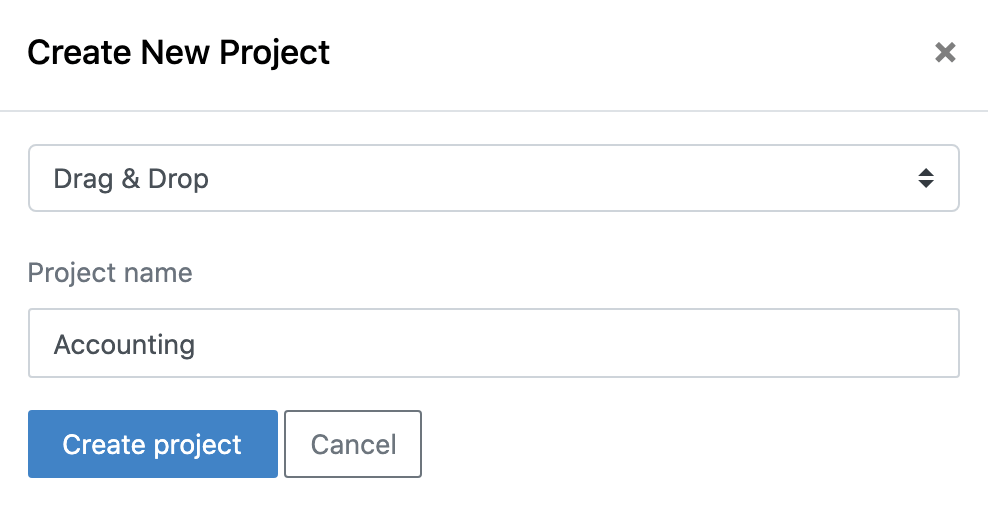
Create a Drag-and-Drop Project
To track your Excel files, you need to create a new project first. On the landing page, click on the +New Project button:

This will open a dialog from where you can select Drag & Drop. Provide a Project name (this sample uses "Account-Details"), then click on Create project:
After a moment, you will see your project on the landing page. If it shows with the processing badge, give it a few seconds and refresh the page—the badge should now have disappeared:

Now that you have a project to work with, you are ready to upload your first Excel file.
Start Tracking a New File
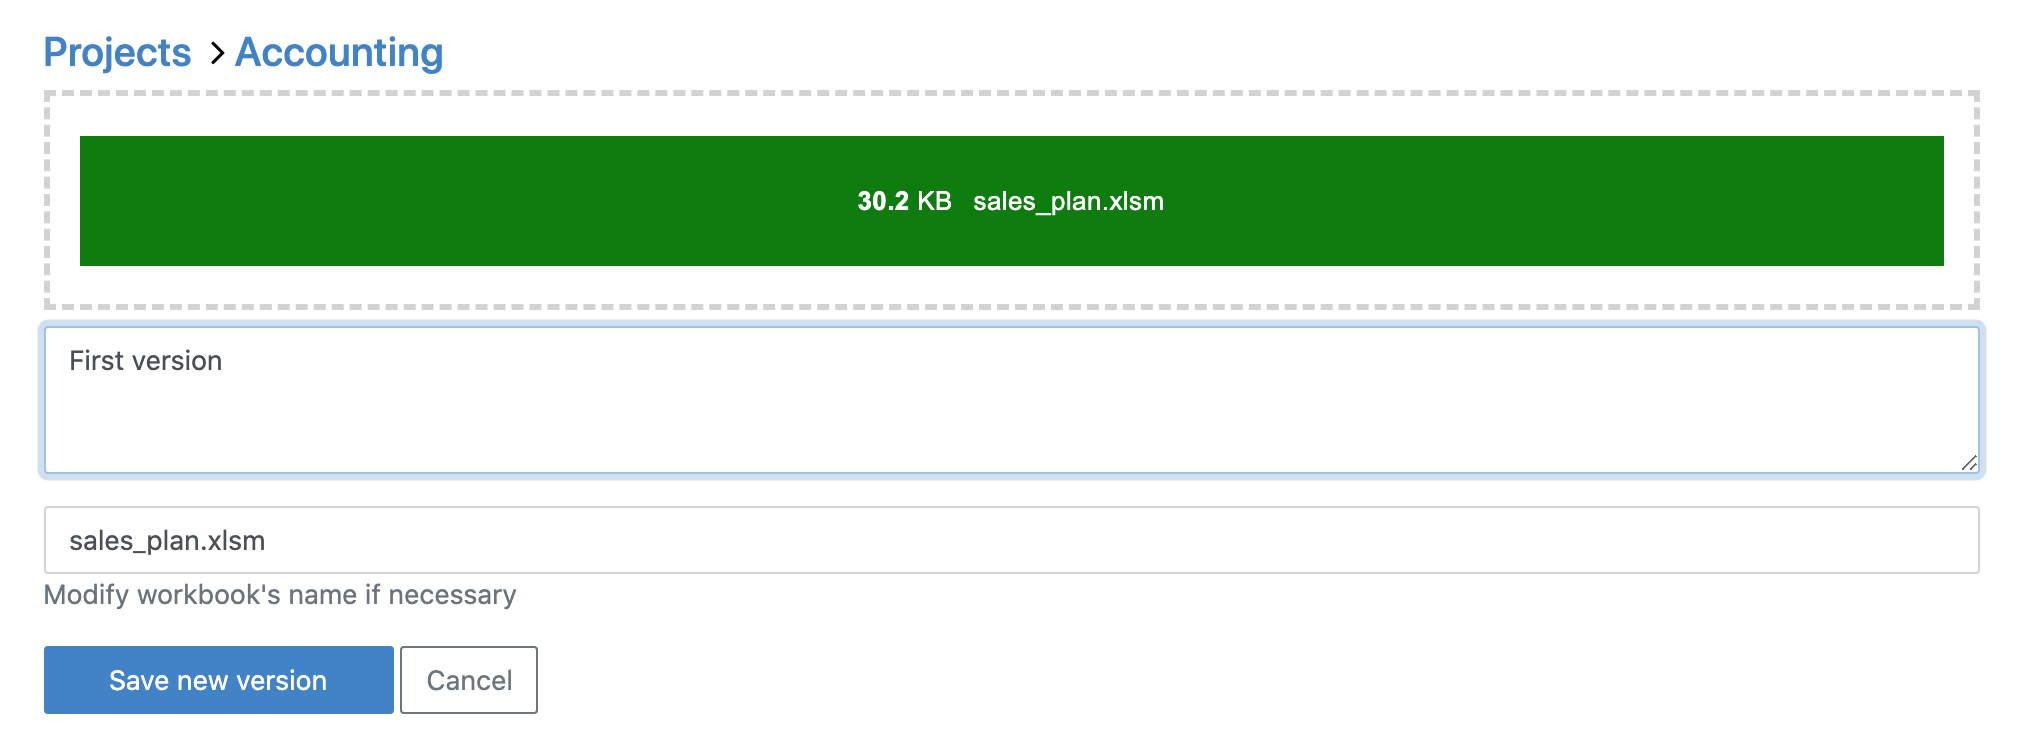
Click on the project name (in this sample Account-Details) and you will see the following screen:

The Add menu provides two options: Upload Workbook to the current directory and Add to New Directory.

• The Add menu provides two options: Upload Workbook to the current directory and Add to New Directory.
• Users can choose to Add File or Upload Zip Folder in the same master branch or create a new branch.
After drag-and-dropping the Excel file or zip Folder, you can type in a version comment where you describe the changes to the document. Since this is the first version, I am writing "Folder containing documents has been uploaded".
The example below demonstrates how to add a new directory in a new branch.
Once the upload is complete, you will be redirected to this page:
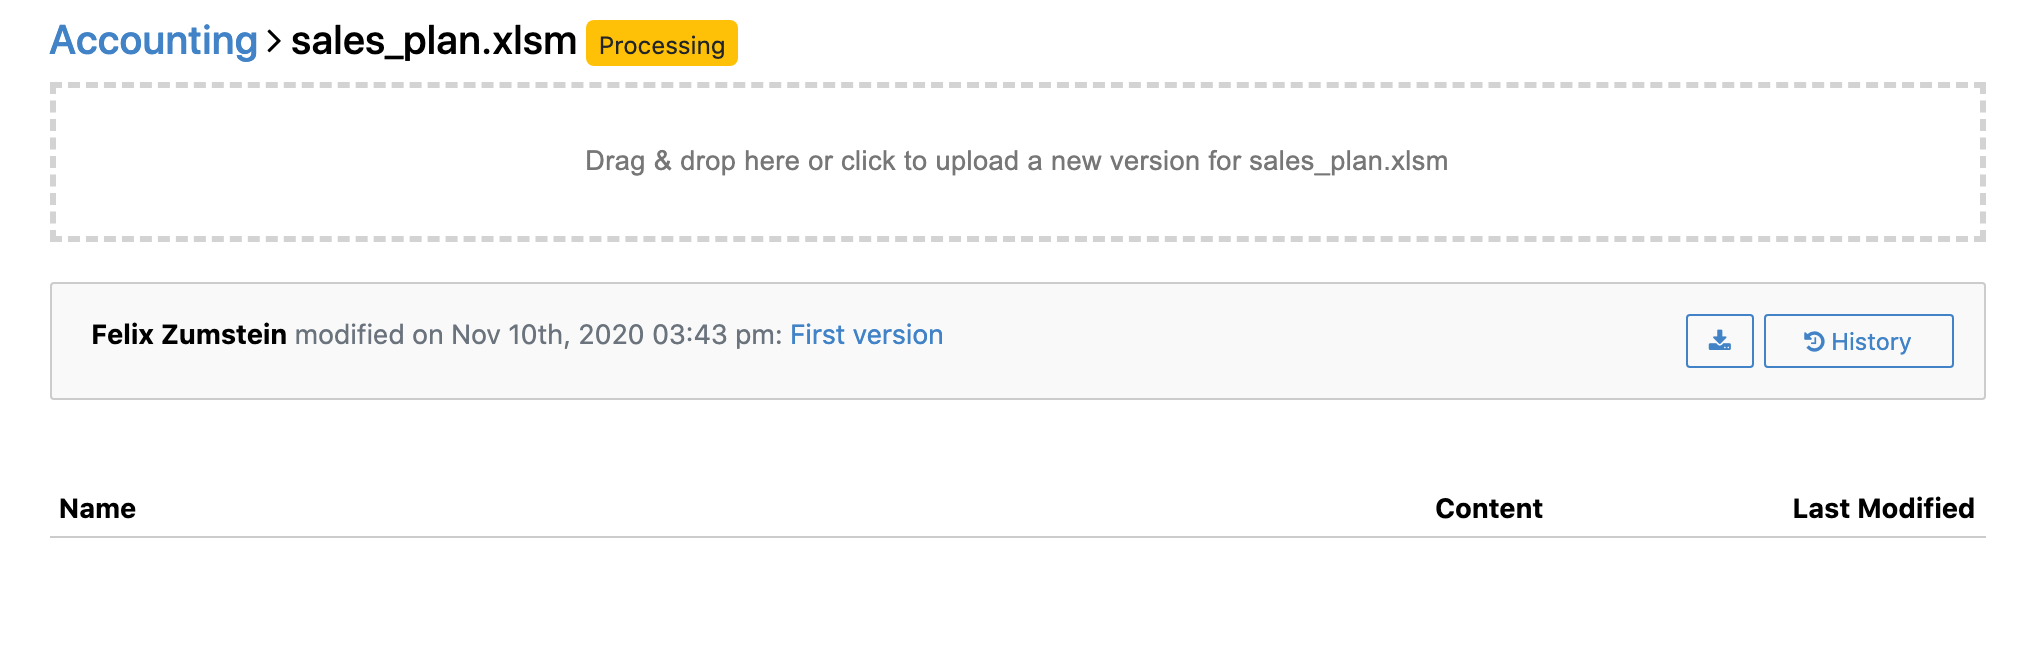
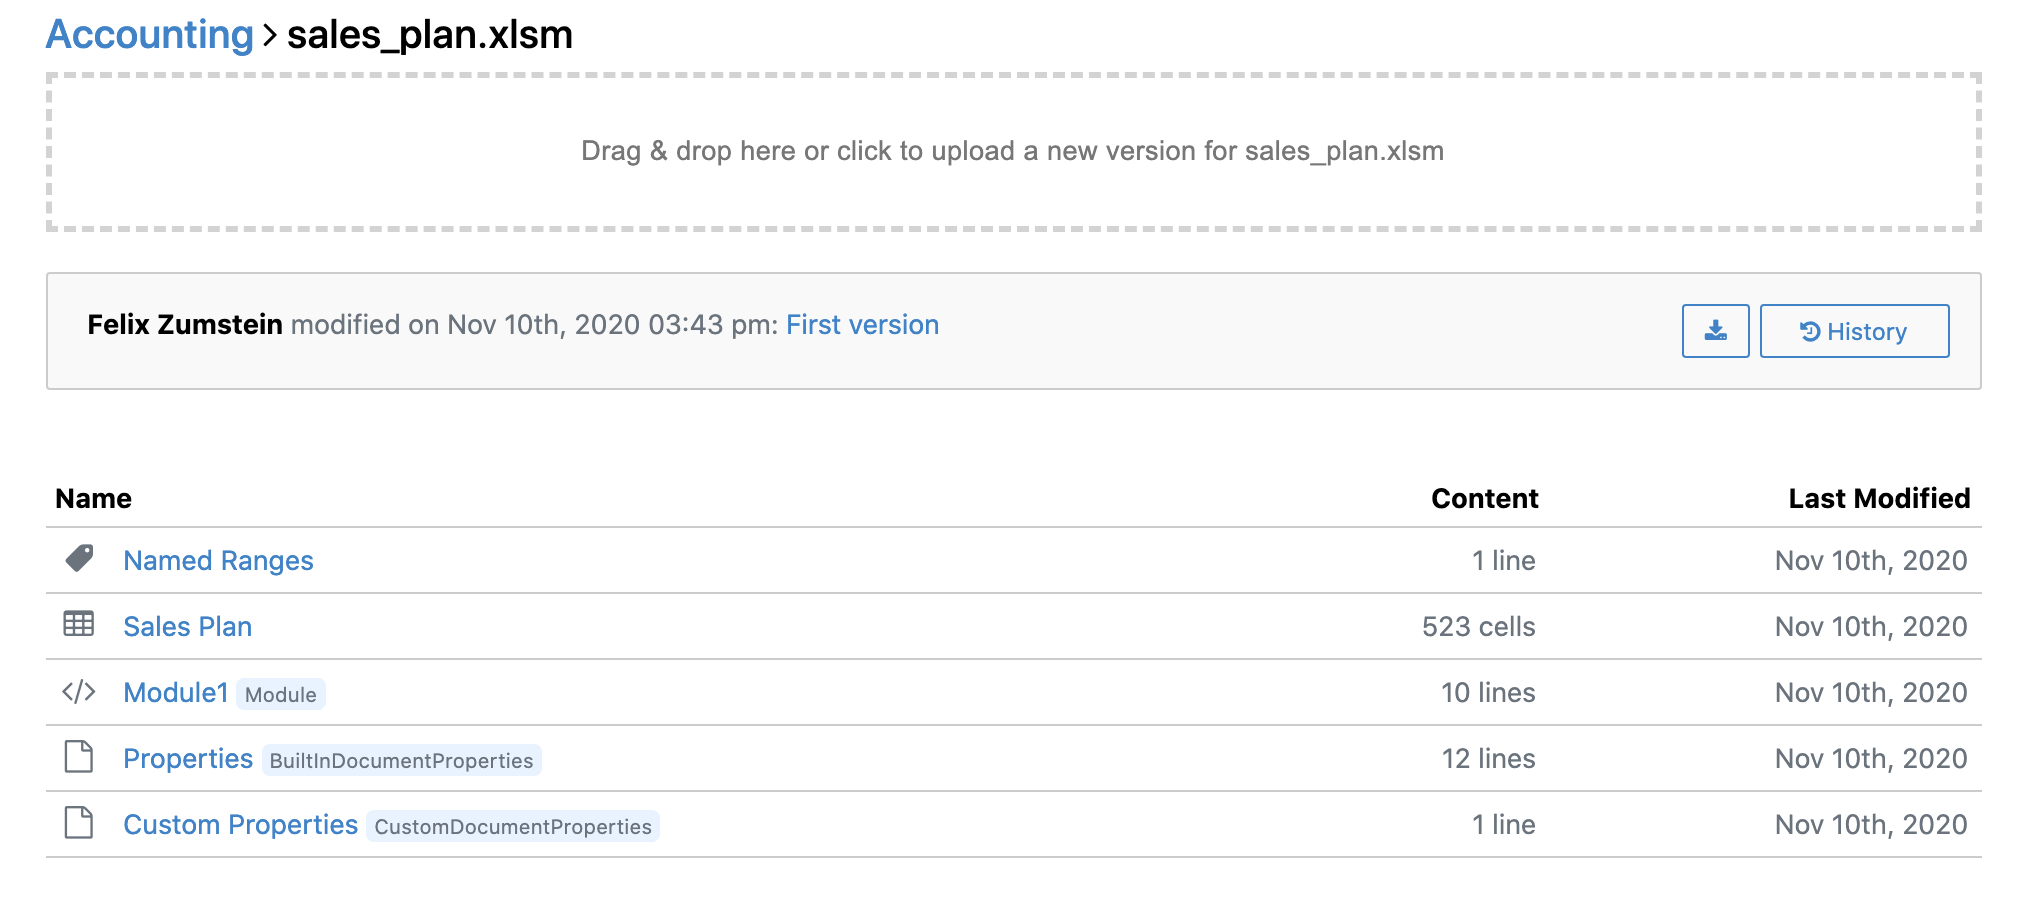
Give it a few moments before you refresh the page. If your workbook is big and complex, you may need to wait for a few minutes. The speed also depends on the processing power of your server—something to keep in mind when you're self-hosting. Once processing is done, you'll be able to see the Tracked Content of your workbook:
Upload a New Version
To upload a new version of a file that is tracked by xltrail, go to the Workbook View and click Edit button to open the Upload New Version interface and upload a new file version. Add a clear and informative version comment so it is easy to understand what changes were made in the Excel file. For example: “Updated the Sales sheet with two new products”.
It is relatively easy to get confused between uploading a file to start tracking it with xltrail and uploading a file as a new version of a file that is already being tracked by xltrail. Here is how you can differentiate the two cases:
- Start tracking a new file: On the Landing Page, click on your project to get to the Project View, then click on
Addbutton toUpload new workbook: only at this step you will see the drag-and-drop area where you can upload a new file- Upload a new version of a tracked file: On the Landing Page, click on your project to get to the Project View, then additionally click on your file to end up in the Workbook View. Click
Editbutton to open theUpload New Versioninterface and upload a new file version.