Last updated on January 15, 2019
Compare 2 Excel Workbooks with xltrail
Posted by Felix Zumstein - 0 Comments
While xltrail is a version control system for Excel files at heart, it can also be used to compare two (or more) Excel files ad hoc. There are other tools available to do that (see my previous blog post) but xltrail is a great choice for comparing two files for the following reasons:
- It’s web based, i.e. you don’t have to download or install anything
- It can handle huge file sizes
- It handles sheets/cells as well as VBA code
- It can deal with any format (xls, xlsx, xlam, xlsb, etc.)
- You can share the results easily with others by sending around links to specific cells
- It keeps a history, i.e. next time you want the same comparison, it’s already there
- You don’t need to have Excel installed on your system
- It presents the differences between sheets in the most intuitive way
Video
For those who prefer to watch rather than read, look no further! Here’s the blog post as video. For everybody else, follow the step-by-step guide below.
Step-by-Step Guide
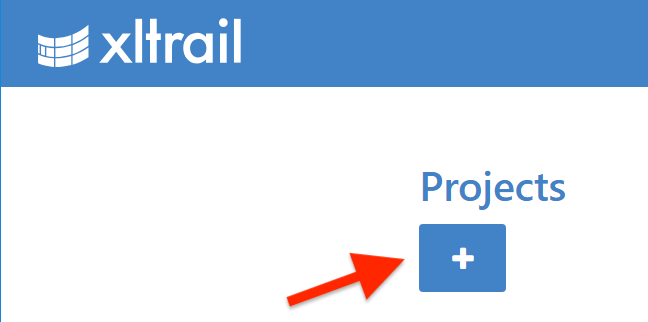
1. Create a project
Start by creating a new project (you can also use an existing one):
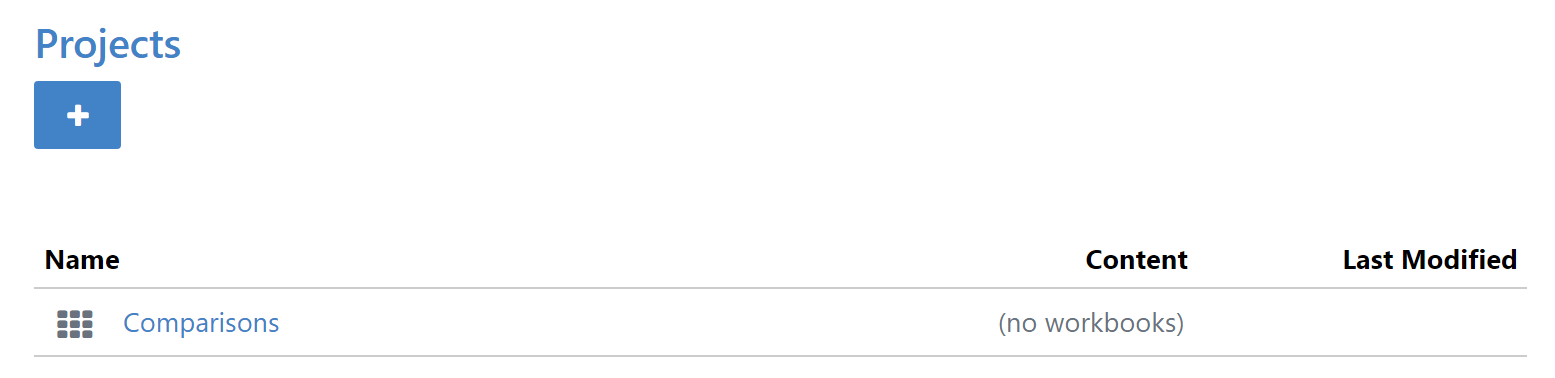
In the pop up, type in a name and then click on Create Project. Once created, it will show up like this:
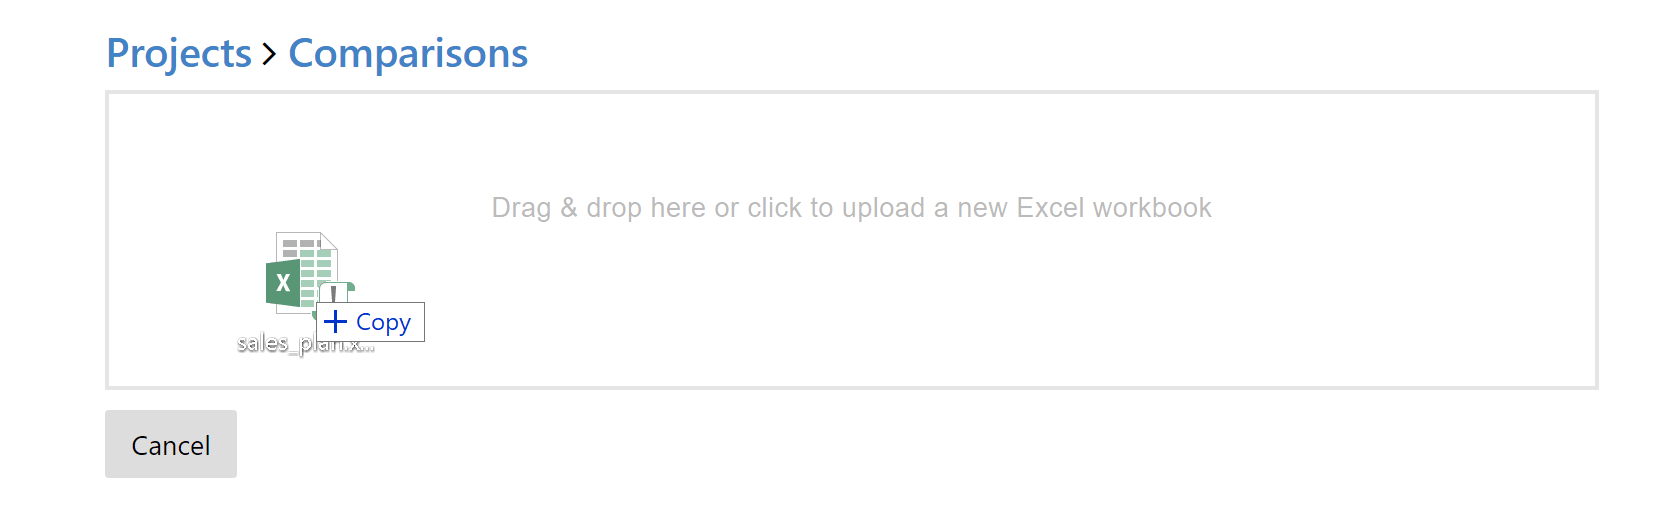
2. Upload the workbooks
Click on the project name (Comparisons in the screenshot above) and then on the Upload new workbook button:

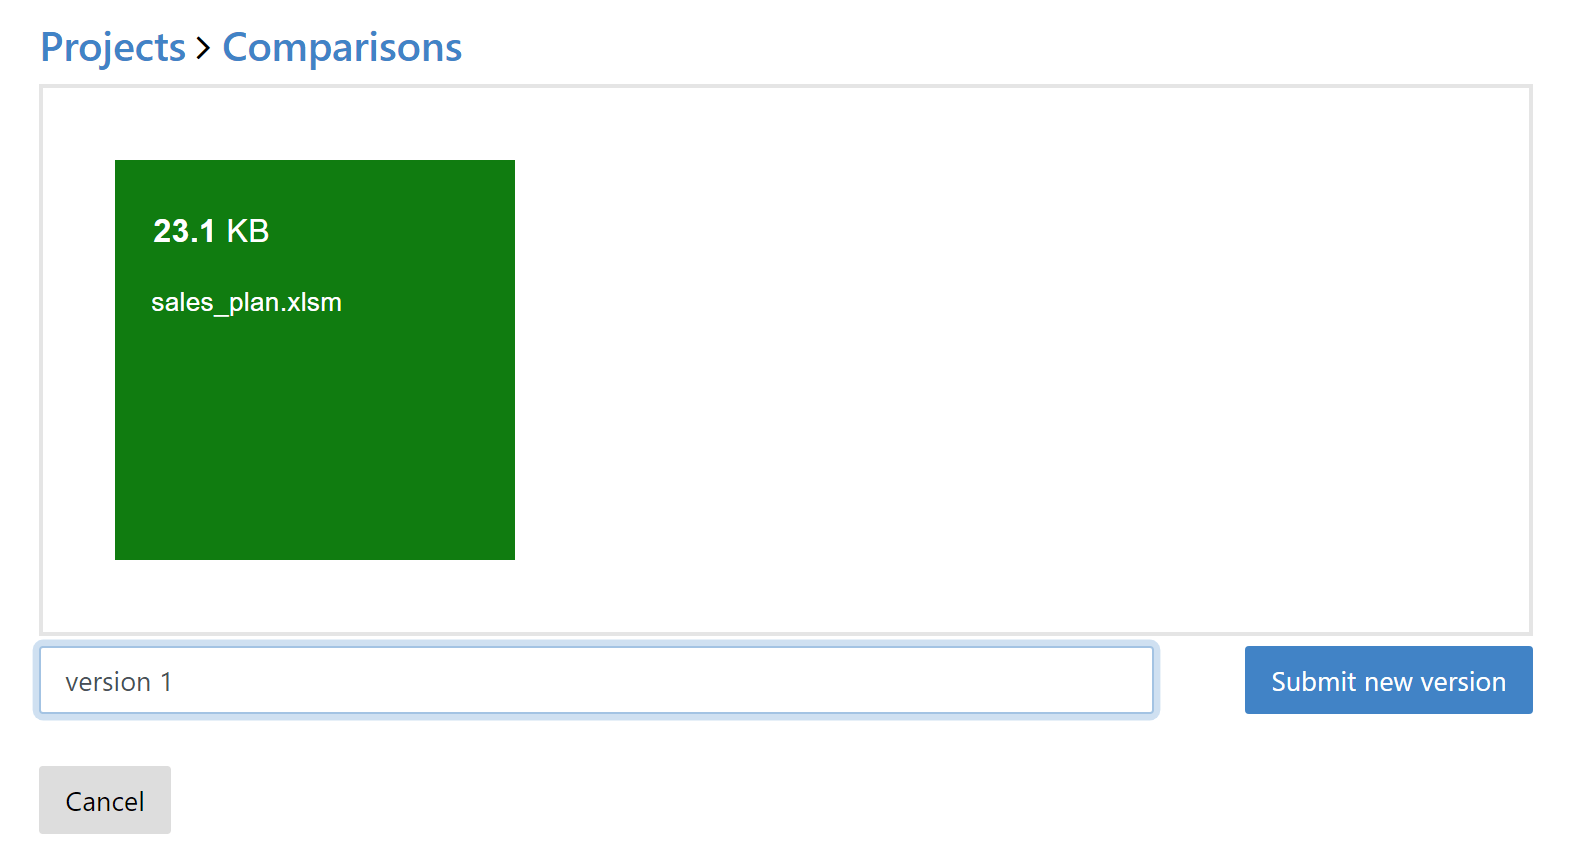
Now drag and drop your first Excel workbook:
Once uploaded, you can optionally add a comment, like e.g. version 1, then hit Submit new version:
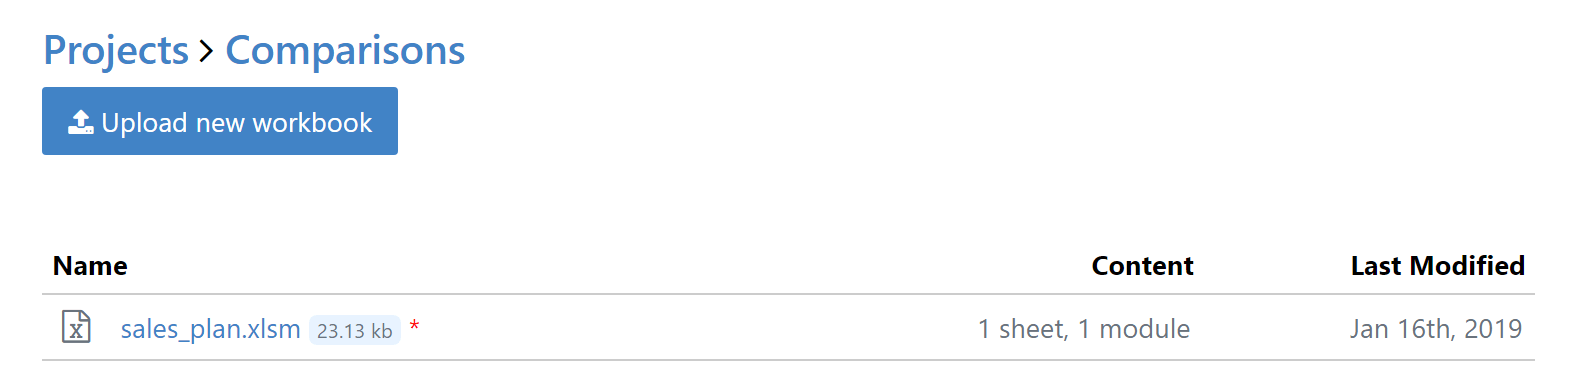
After a moment (big files might take a little longer), you will see your file showing up like this:
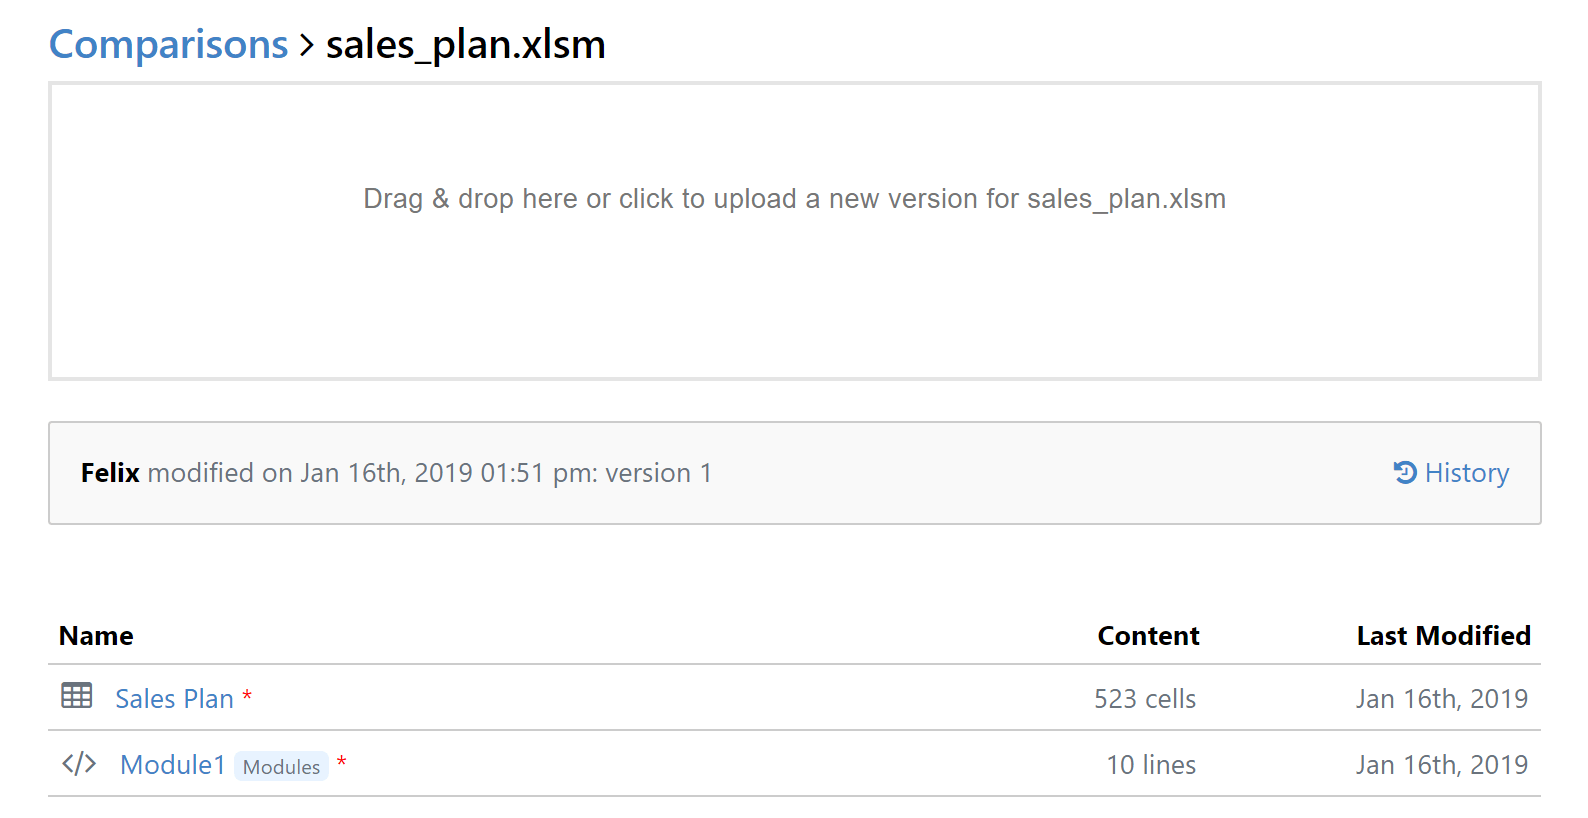
Click on the file name and you will see an overview of the sheets and vba code (if you have any).
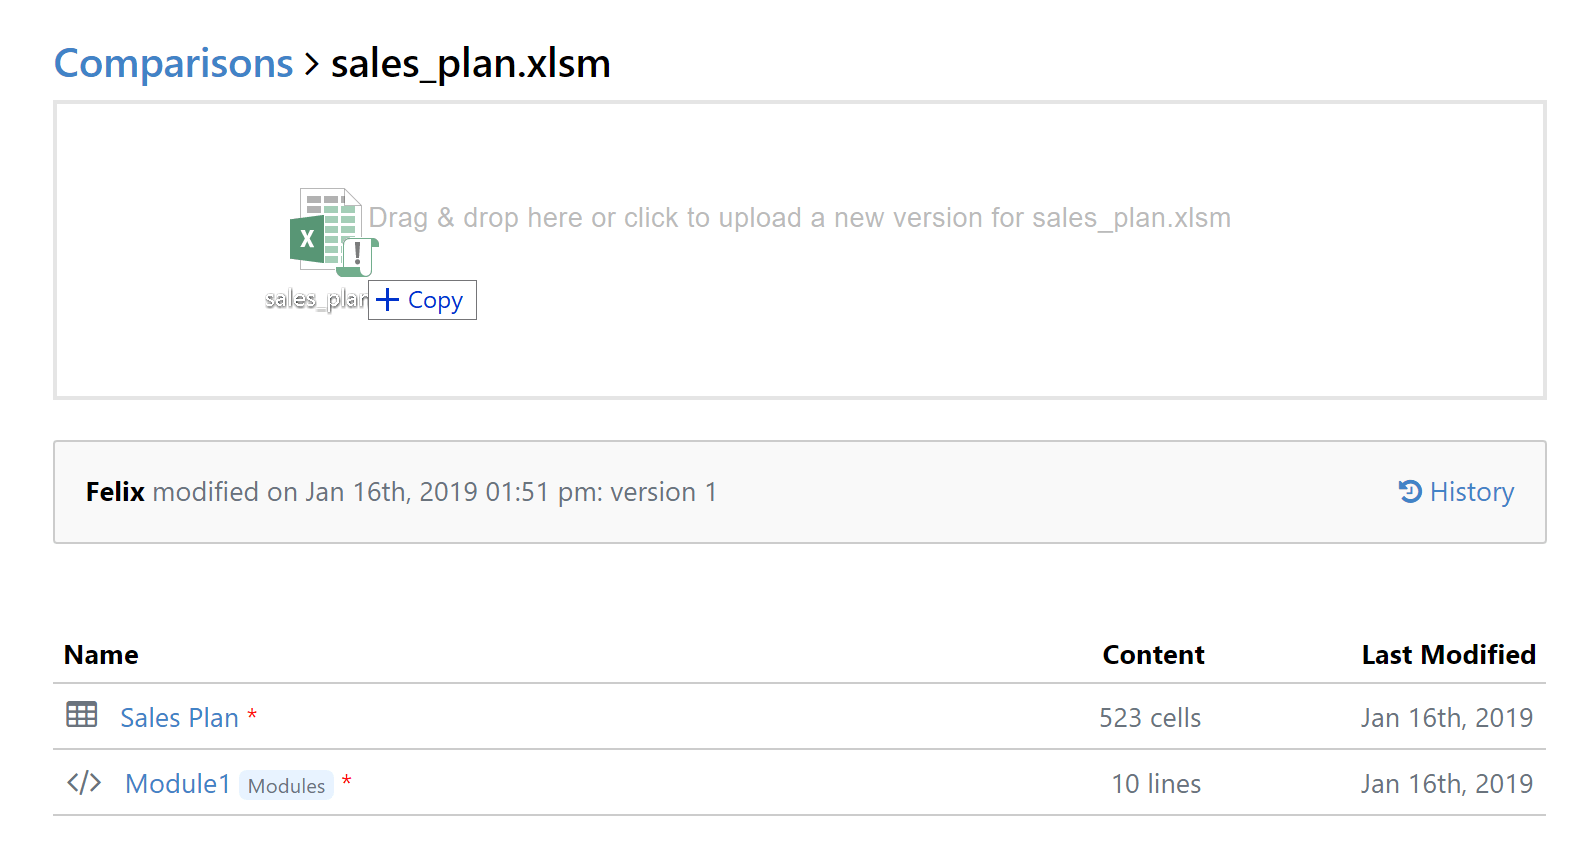
On this screen, simply drag and drop the second file:
Like with the first Excel file, you will again be able to optionally leave a comment and then submit the new version by clicking the button.
3. Compare the Excel workbooks
After both files have been uploaded, we’re now ready to compare them. To do that, click on History (on the right hand side of the gray bar in the screenshot above) and you will see something like this:
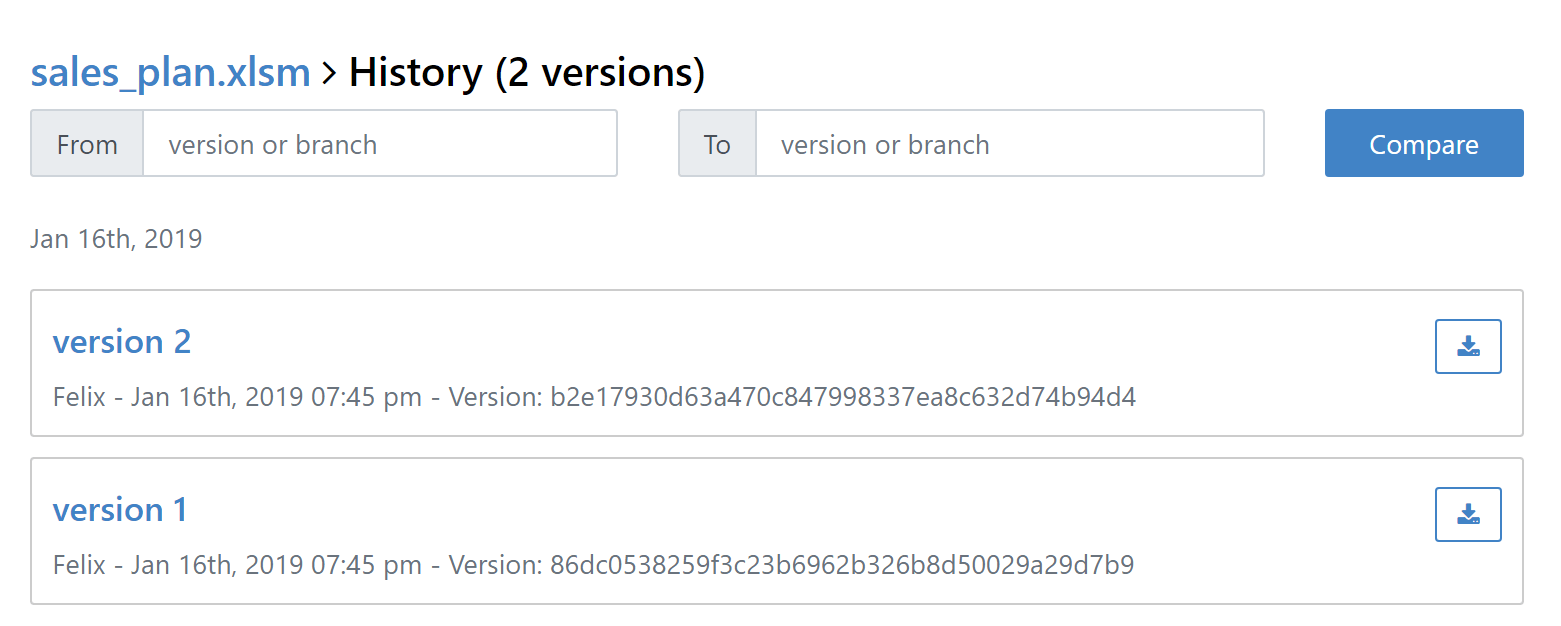
To see the changes between the Excel workbooks, simply click on the upper version, i.e. in this case version 2. This will give you an overview of the changes, both in the sheets and VBA code:
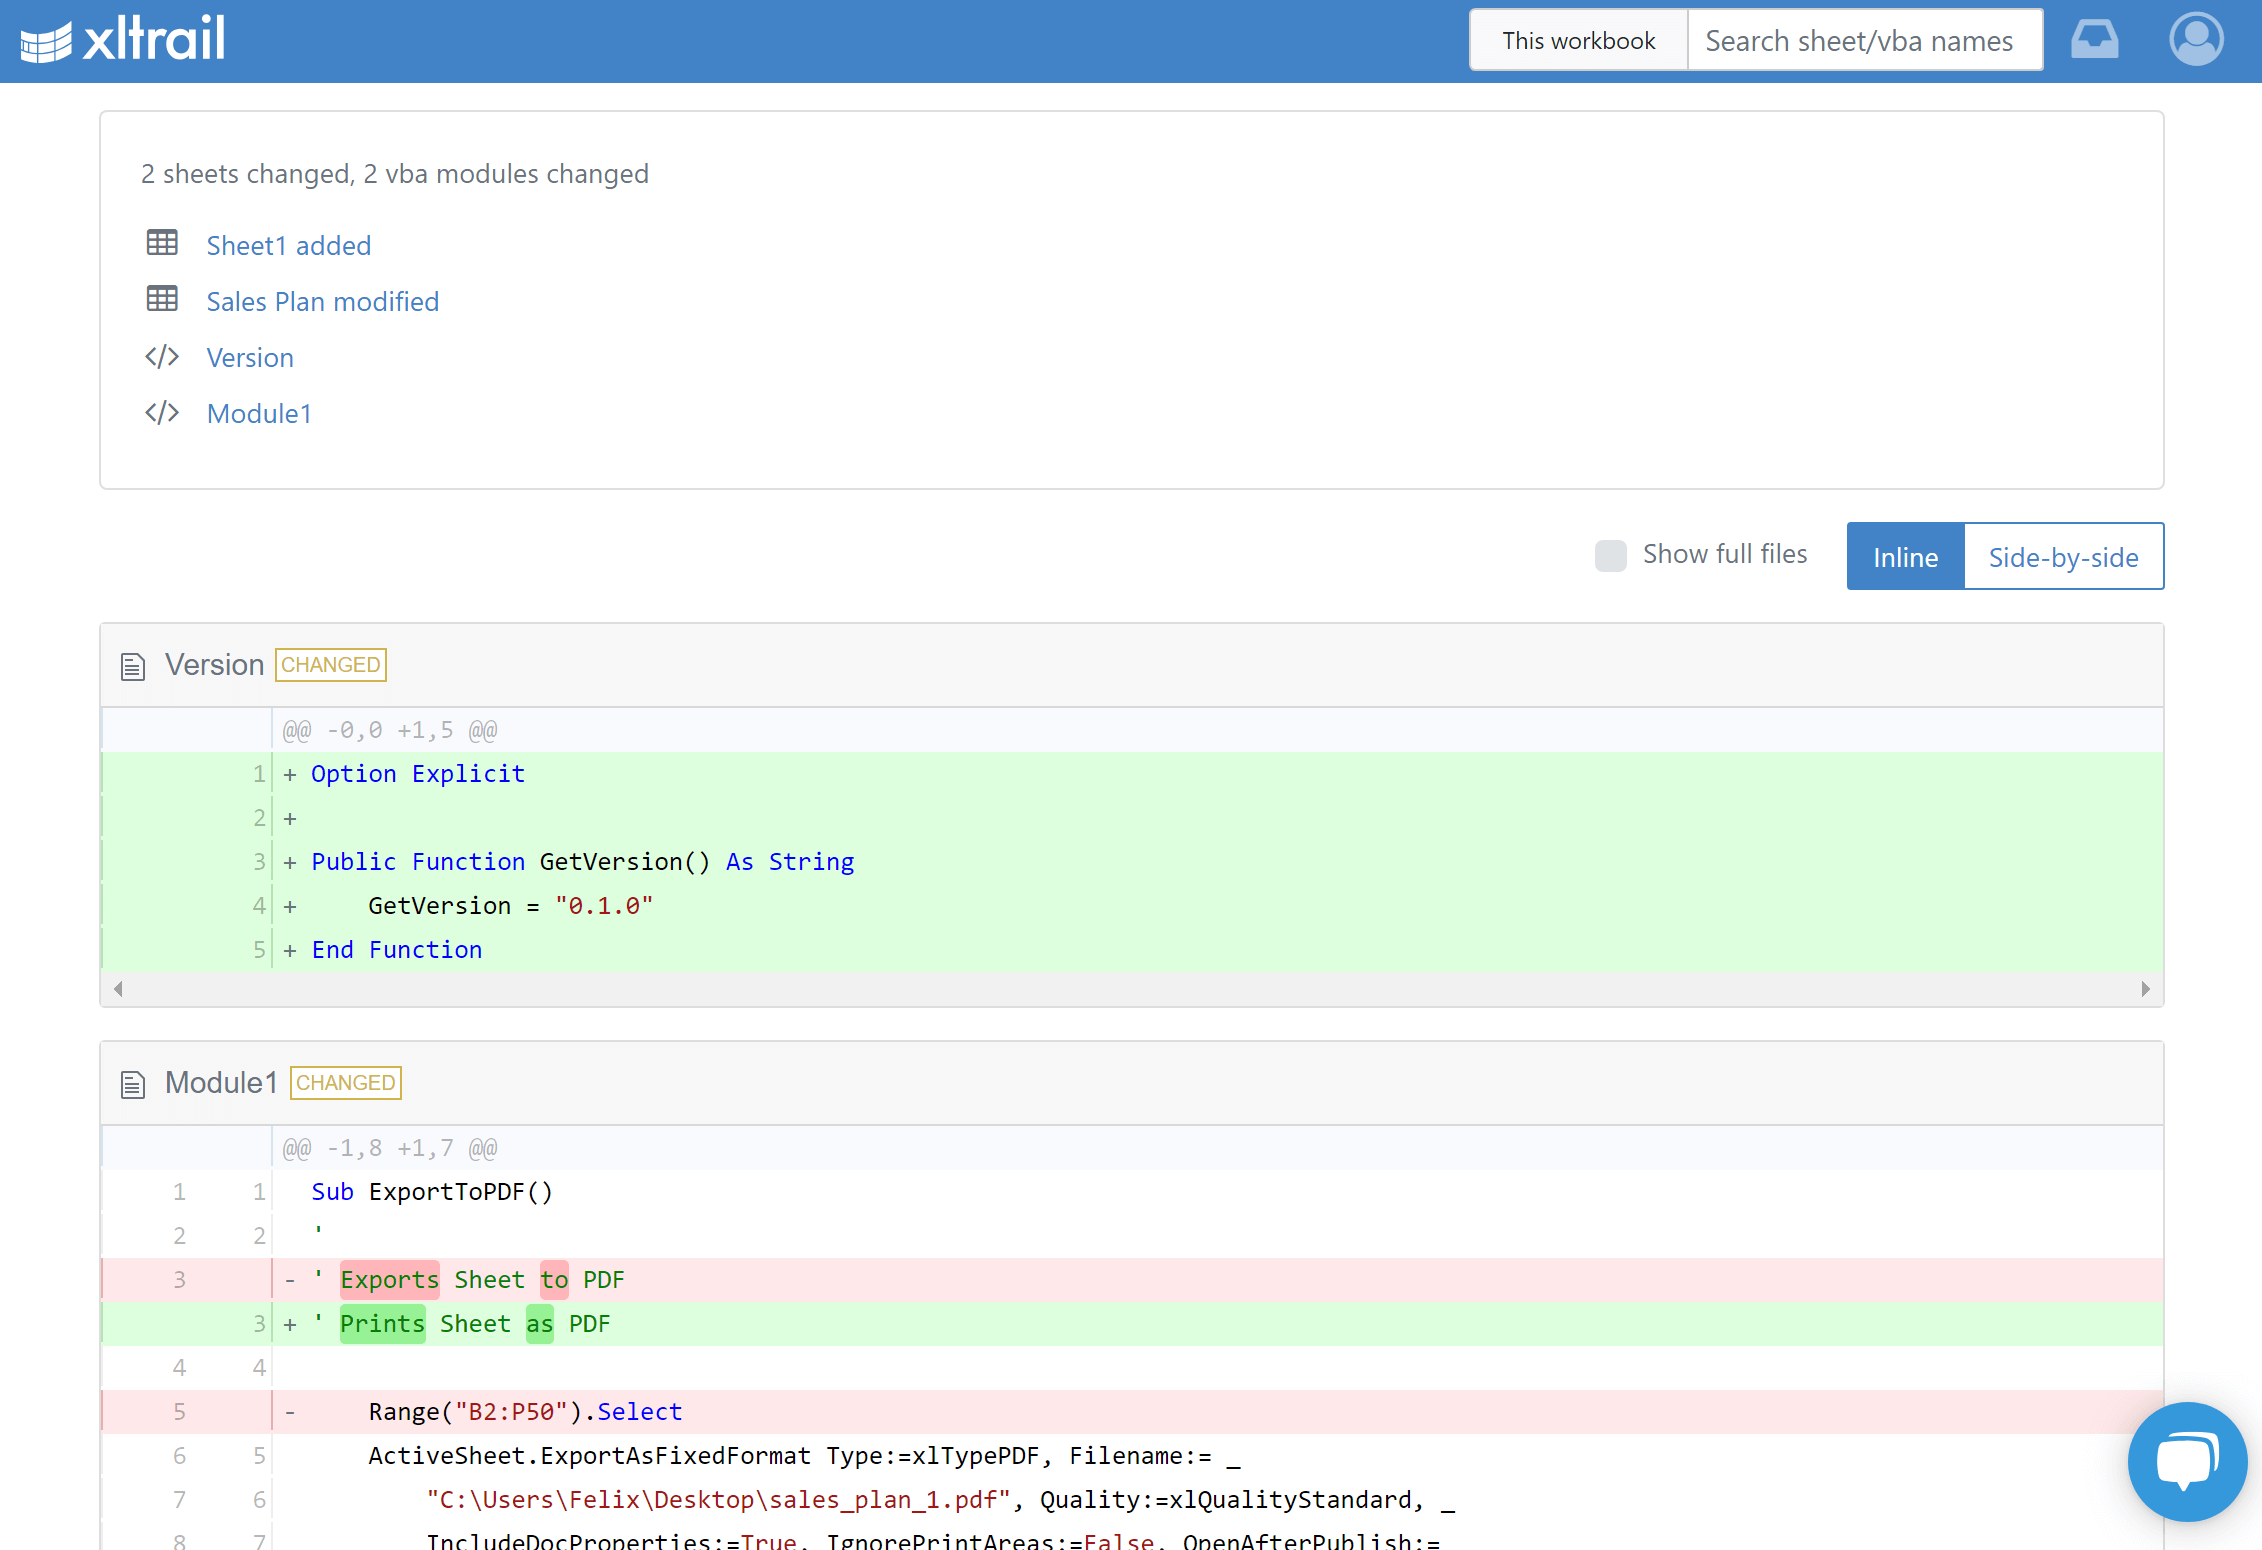
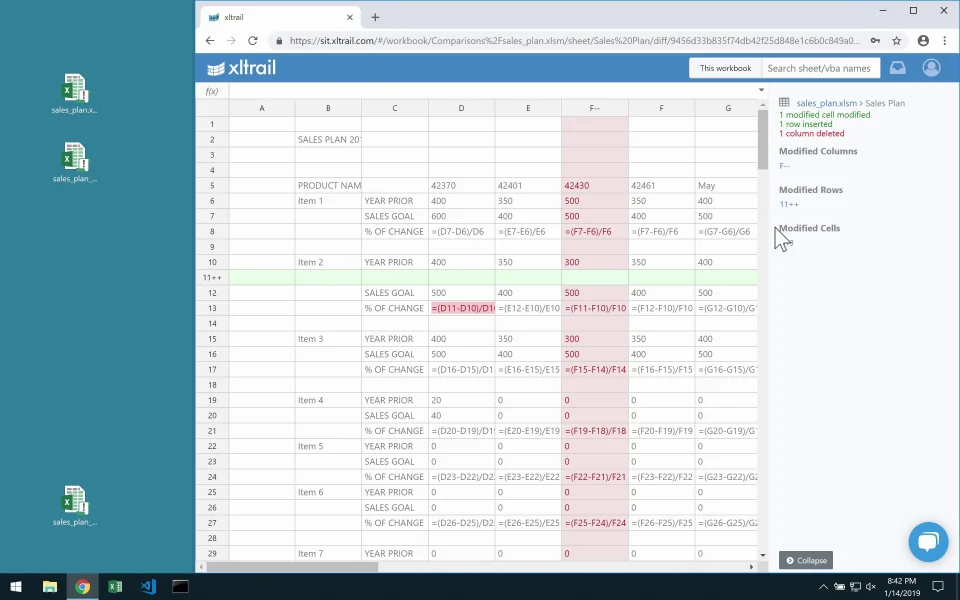
To get the details on what changed in a sheet, click on the respective message (in this example on Sheet 1 added or Sales Plan modified). Green means added or new while red means deleted or old:

Note that xltrail only shows you changes in formulas and entered values, but not in calculated values as this reduces the noise in the comparison.
4. Compare more than two files
If you have more than two versions of a file that you want to compare, you can simply repeat what we did for the second file. After uploading the 3rd file, you will now have three versions showing up when you click on History again:
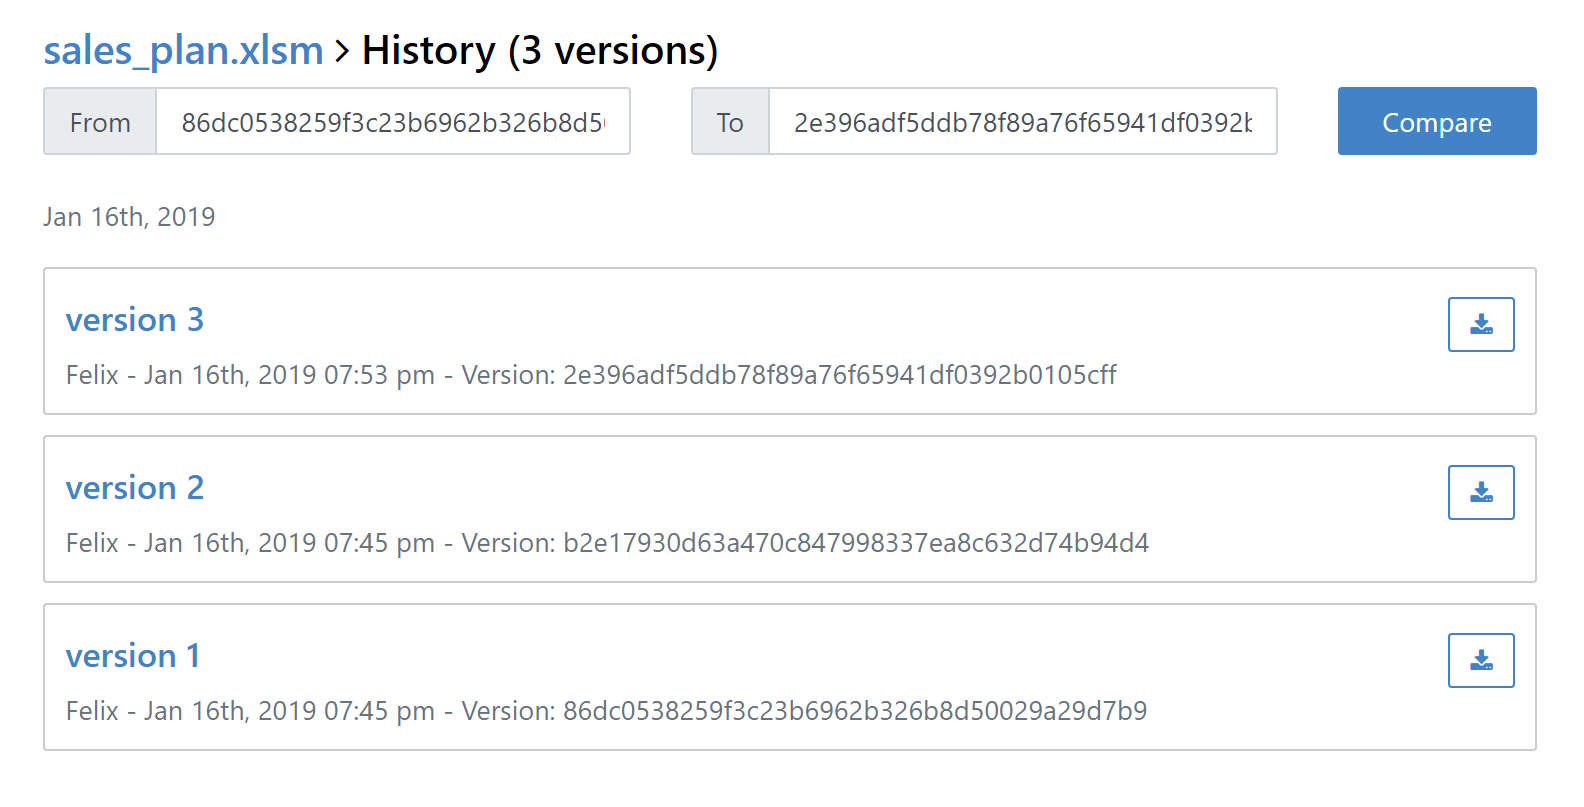
To compare version 3 with version 2, simply click on version 3. If, however, you wanted to compare version 1 with version 3, simply copy and paste their version numbers into the From and To fields, respectively, and hit Compare.